Bossbars
Bossbars are great for displaying ui at the top of the player's screen, they're useful as you're able to display multiple bossbars at a time.
Creating A Bossbar
Each part of a VirtualBossbar is a value which we can set:
val bossbar = VirtualBossbar()
bossbar.title.set(Component.literal("My Bossbar"))
bossbar.progress.set(0.5F)
bossbar.color.set(BossBarColor.BLUE)
bossbar.overlay.set(BossBarOverlay.PROGRESS)

val player: ServerPlayer = // ...
bossbar.startObservingAndSendPackets(player.asObserver())
This will result in the following bossbar: 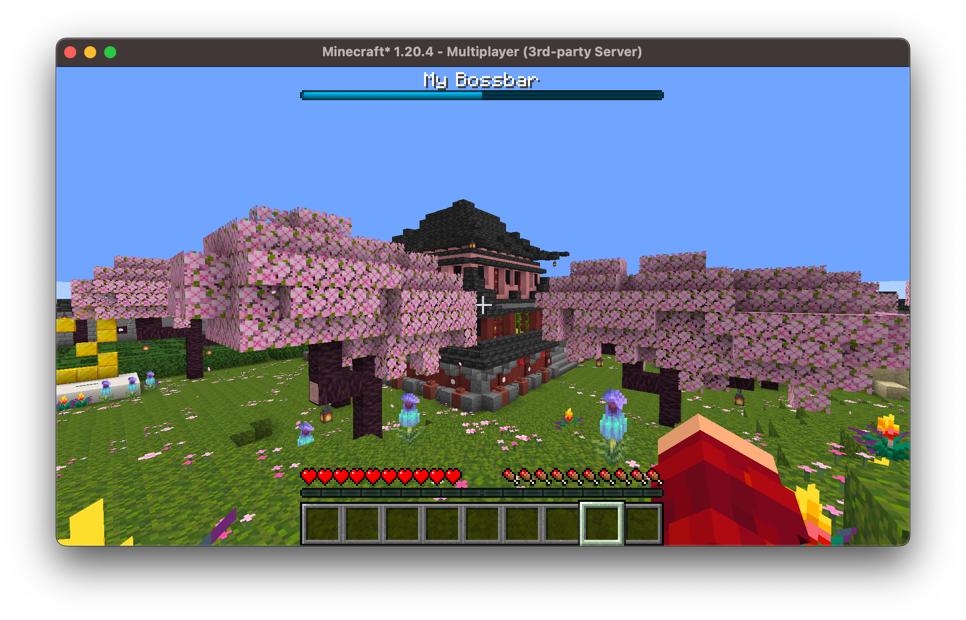
As well as the title, progress, color, and overlay, a bossbar also has dark, music, and fog, which darken the sky, play boss music, and create world fog respectively.
If we change any of these later, the bossbar needs to be ticked for the change to be displayed:
bossbar.progress.set(0.75F)
bossbar.tick()
We can also override any of these values for a single player:
bossbar.title.set(Component.literal("Welcome!"))

// Only this player is shown their own name
bossbar.title.set(player, Component.literal("Welcome, ${player.scoreboardName}!"))
Generating A Bossbar
Instead of setting each value ourselves, a DynamicVirtualBossbar can generate them from elements every tick:
val bossbar = DynamicVirtualBossbar(server)
bossbar.setTitle { player -> player.displayName }
// Progresses throughout a minecraft day
bossbar.setProgress(UniversalElement { server ->
    (server.tickCount % 24_000) / 24_000.0F
})
bossbar.setColor(LevelSpecificElement { level ->
    when (level.dimension()) {
        Level.NETHER -> BossBarColor.RED
        Level.END -> BossBarColor.PURPLE
        else -> BossBarColor.BLUE
    }
})
This results in the following bossbar: 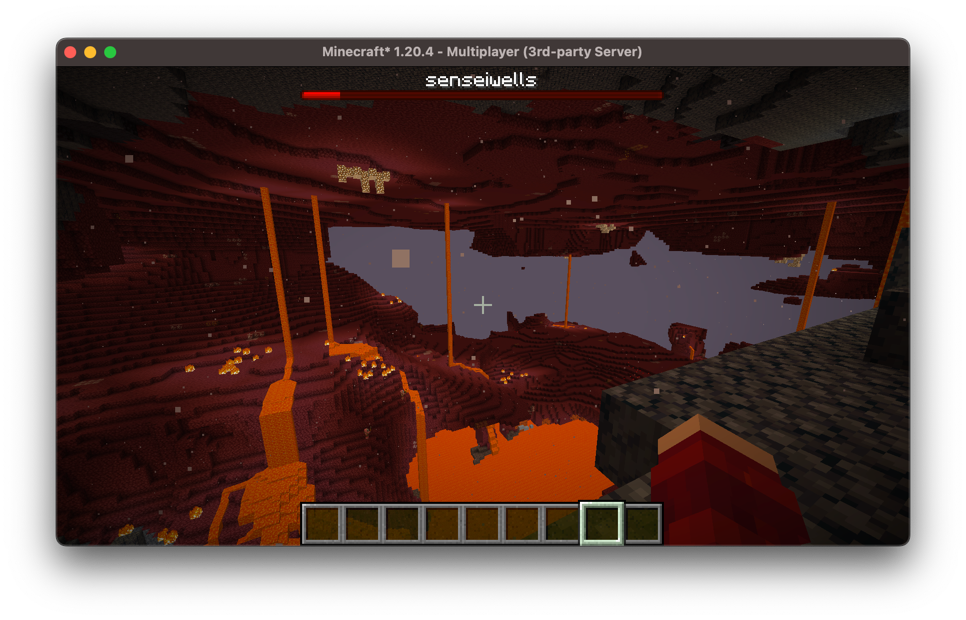
A UniversalElement generates the base value and any other element generates per-player overrides, and each value can have both. Any value that doesn't have an element can still be set directly.
Timer Bossbars
Bossbars are great for displaying timers due to their nature of having a progress bar. A TimerElement is a countdown which we can display with a bossbar:
val timer = TimerElement(10.Minutes)

val bossbar = DynamicVirtualBossbar(server)
bossbar.addTickable(timer)
bossbar.setProgress(timer.progress())
bossbar.setTitle(timer.remaining { duration -> Component.literal(duration.formatHHMMSS()) })
The elements returned by progress() and remaining only read the timer, so we register the timer itself with addTickable to make it count down. This means the timer counts down once per tick no matter how many values are displaying it, and it also lets us display the same timer with a sidebar or tab display at the same time.
We can control the timer at any point:
// Resets the timer and sets the duration to 10-minutes
timer.setTotalDuration(10.Minutes)

// Doesn't reset the timer, instead sets it to finish in 5-minutes from now
timer.setRemainingDuration(5.Minutes)

// Unset the timer
timer.removeDuration()

// Whether the countdown has finished
if (timer.complete) {
    // ...
}
NOTE
A timer only counts down while it's being ticked. If you're using one without a dynamic visual, you'll need to call timer.tick(server) yourself.
If we want the bar to be shorter than the full width, we can scale the progress:
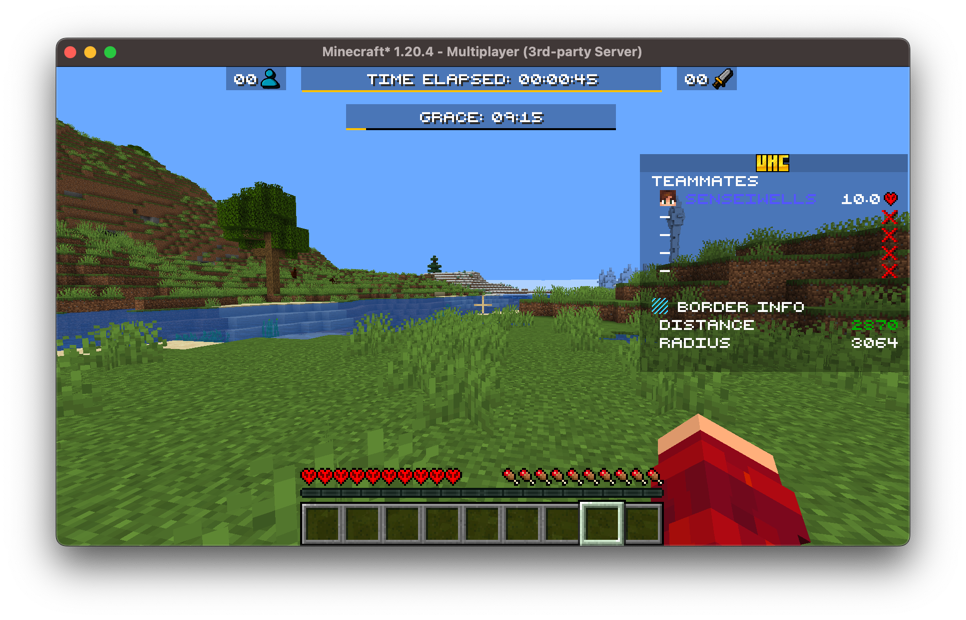
bossbar.setProgress(UniversalElement { MathUtils.centeredScale(timer.getProgress(), 0.75F) })For example, like the grace bossbar in the image below, to achieve this effect, you can create a resource pack and change one of the bossbar color textures to be shorter.